Understanding Exhaust Hood Installation Basics
What is an Exhaust Hood?
An exhaust hood, commonly referred to as a range hood or kitchen hood, is a device installed over cooking appliances to ventilate smoke, steam, grease, and odors produced during food preparation. Its primary purpose is to improve indoor air quality and keep the kitchen environment pleasant. Exhaust hoods function through ducted or ductless systems, ensuring that excess heat and pollutants are effectively removed from the cooking area.
Importance of Exhaust Hood Installation
Installing an exhaust hood is crucial not only for maintaining a clean kitchen but also for ensuring safety. Cooking emits various particles, including smoke and grease, which can accumulate on surfaces, become fire hazards, and lead to unhealthy air quality. Proper exhaust hood installation helps reduce these risks, providing a more enjoyable cooking experience while also protecting your property.
Common Types of Exhaust Hoods
Exhaust hoods come in various types, each suited for specific kitchen layouts and cooking styles. The most common types include:
- Wall-Mounted Hoods: Installed against the wall above the stove, these are popular for standard kitchen configurations.
- Island Hoods: Designed for cooking islands, these hoods often feature a filter system and style that complements open spaces.
- Under-Cabinet Hoods: Built beneath cabinets, they are ideal for kitchens with limited space while still offering effective ventilation.
- Downdraft Hoods: These hoods retract down into the countertop when not in use and are suitable for modern designs.
Preparing for Exhaust Hood Installation
Tools Required for Installation
Before starting your exhaust hood installation, ensure you have the following tools ready:
- Drill
- Screwdriver
- Level
- Measuring tape
- Pliers
- Wire cutters
- Stud finder
- Safety goggles and gloves
Choosing the Right Location
The right location for your exhaust hood is essential for maximizing its effectiveness. Consider the following factors:
- Proximity to the stove: The hood should be directly over the cooking area to capture smoke and vapors.
- Ceiling height: Ensure your hood is installed at the recommended height, typically 24 to 30 inches above cooking surfaces.
- Ventilation access: Ensure that your ducting route leads to an external vent without excessive bends, improving airflow efficiency.
Assessing Ventilation Needs
Your kitchen’s ventilation needs depend on the types of cooking you perform. High-BTU professional stoves require powerful hoods with adjustable fan speeds to handle increased production of hot air and grease. Calculate the required airflow using the CFM (cubic feet per minute), which varies based on stove BTU output and hood size.
Step-by-Step Guide to Exhaust Hood Installation
Pre-Installation Checklist
Before you begin installation, follow this checklist:
- Gather all necessary tools and materials.
- Read the manufacturer’s instructions thoroughly.
- Check local building codes and ensure compliance.
- Ensure the necessary electrical connections or outlets are available.
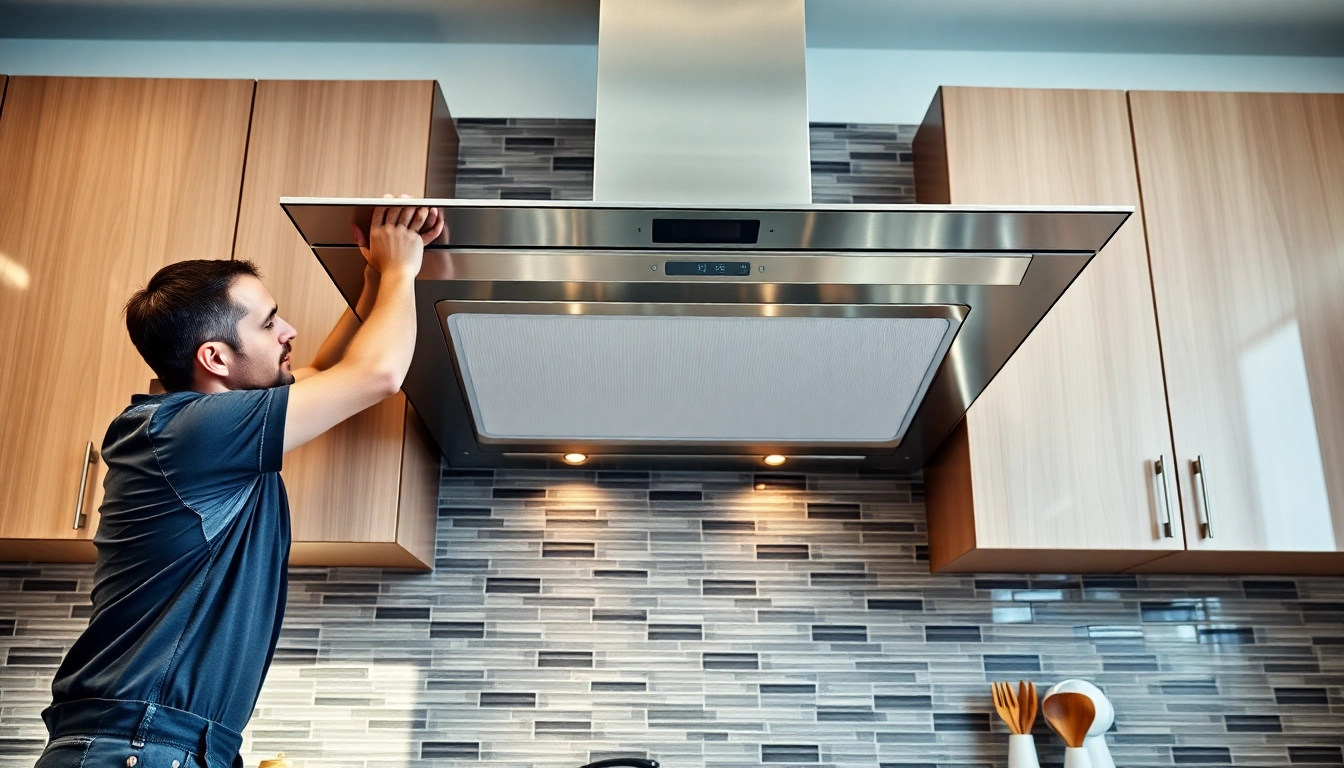
Mounting Your Exhaust Hood
To mount your exhaust hood, follow these steps:
- Use a stud finder to locate wall studs.
- Mark the mounting height and level the hood to ensure even installation.
- Drill holes in the wall and secure the hood with screws.
- Install any additional brackets provided by the manufacturer for stability.
Electrical Connections and Testing
For electrical connections, consult a licensed electrician if you’re not confident. Here’s a simple guide:
- Turn off power at the circuit breaker.
- Connect the hood’s electrical wires to the house wires according to the color codes.
- Cover connections with wire nuts and electrical tape.
- Restore power and test the exhaust hood for functionality.
Best Practices for Maintaining Your Exhaust Hood
Regular Cleaning and Maintenance
To extend the life of your exhaust hood, conduct regular maintenance:
- Use a soft, non-abrasive cleaner on exterior surfaces.
- Clean or replace filters regularly, preferably every 3-6 months, to maintain optimal airflow.
- Inspect the ductwork annually to ensure there are no blockages.
Signs Your Exhaust Hood Needs Service
Be aware of the following signs that indicate your exhaust hood may require professional servicing:
- Increased noise levels during operation.
- Reduced airflow or failure to eliminate steam and smoke.
- Visible grease buildup or discoloration on surfaces.
Enhancing Efficiency and Performance
To improve your exhaust hood’s performance, consider the following tips:
- Ensure the hood and motor are appropriate for the size of your kitchen.
- Utilize the hood on higher settings when cooking.
- Keep nearby windows and doors closed to prevent airflow interference.
Frequently Asked Questions
What are the benefits of exhaust hood installation?
Exhaust hoods improve indoor air quality by removing smoke, odors, and grease, reducing fire hazards and enhancing comfort during cooking.
How high should an exhaust hood be installed?
Generally, an exhaust hood should be installed 24 to 30 inches above the cooking surface to effectively capture smoke and vapors.
Can I install an exhaust hood myself?
Yes, if you are handy and follow manufacturer’s instructions. However, consult professionals for electrical work or complex installations.
What are the common problems with exhaust hoods?
Common issues include decreased airflow, noisy motors, and grease buildup on filters, which hinder performance and efficiency.
How often should I clean my exhaust hood?
Clean your exhaust hood filters every 3-6 months and maintain the exterior regularly to ensure optimal performance.